|
There are soooo many uses for a water bottle! Today let’s talk about our top 12 Survival and Rescue uses of a water bottle (in no particular order) A bottle that you brought with you, or one that was carelessly discarded and you found in your travels. If you are lost and/or in a survival situation remember that your priorities are; a means of tending to an injury, signaling for help, food, water and shelter. You can take all of these ideas and expand on them further, but here are some ideas that will get your mind thinking creatively in a bad situation.
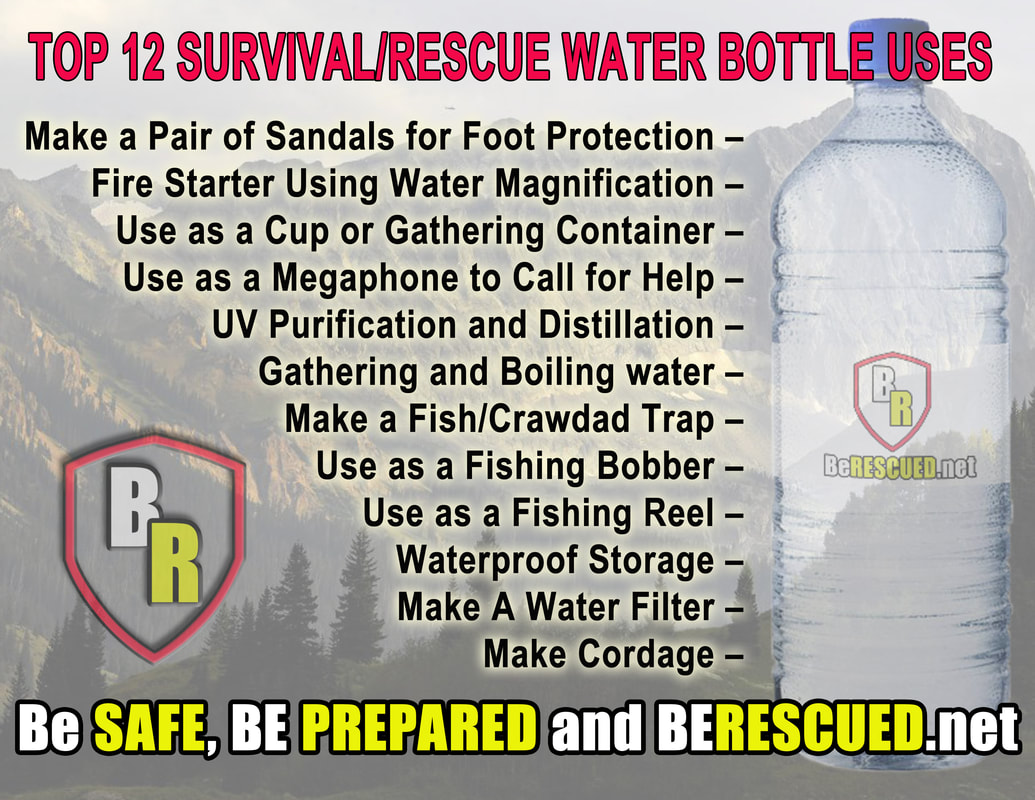
Make a Pair of Sandals for Foot Protection – In the unlikely event that you have lost your shoes or are making an appearance on Naked and Afraid and need to protect your feet, you can cut a found water bottle in half lengthwise and use some cordage (self-made or otherwise) to fashion yourself a pair of flip-flops. This would work a bit better if you were able to find two water bottles because you could the smash the water bottles lengthwise and hopefully use the label to hold them to your feet or use some cordage for binding. I have seen people in secluded parts of the world use this application for foot protection. Fire Starter Using Water Magnification – I remember when I was a young lad with a magnifying glass outside on a sunny day giving my sisters barbie dolls and brand-new look. Using a water bottle filled with clear liquid to help magnify the sun can do the same thing almost as good except instead of a barbie doll, you use your “birds’ nest” to actually start a signal fire. There are many great how-to articles and videos on this technique. Here is the science behind it: https://www.livescience.com/62899-water-bottle-fire.html Here is one video to actually show you the technique. Use as a Cup or Gathering Container – A container is always handy to have for drinking or foraging for nuts and berries. A no-brainer is to just cut the top part of the bottle off where it starts to curve and use the bottom as your container. (more on this in a minute) Use as a Megaphone to Call for Help – If you are in a situation where you are immobilized and need help, you can use the top part of the bottle that you made your container from as a megaphone to call for help. This will help direct and magnify your voice for others (rescuers) to hear you call. UV Purification and Distillation – Although these are two different things, we decided to put them into the same category because the both use the sun for purification. So really, you’re getting 2 for 1 knowledge here. UV Purification - Solar water disinfection. (SODIS for short) It is a known fact that ultraviolet light can purify water. There are many commercial products available both large and small that use UV light to purify water. The sun gives off plenty of UV light and can help you purify water. It will take several hours or even up to a day to complete the process, but it is a good thing to keep in mind in a survival situation. Pros – Very little work, a large amount can be disinfected and it’s free. Cons - Keep in mind that if the bottle has BPA (Bisphenol A) in it from the manufacturing process, this will leach into your drinking water. Distillation – Distilled water is about the purest water you can get. That’s why it is used in so many applications from car batteries to medical. The distillation process is basically collecting the evaporation “steam” from a non-potable water source (stagnant pond, sea water etc.) or even from live leafy green plants. There are plenty of how-to videos and articles that explore a few different ways to use this solar still technique with a water bottle (or two). Here is one very good way that will work with plants or another container of water. This method uses only a knife and water bottle. No glue or drill is needed. Distillation Pros – The water is very clean and ready to drink. Distillation Cons - Very time consuming with little reward. Gathering and Boiling water – You already know that you can gather water from a lake or stream, but there are other methods if there is no water source around. For instance, gather some morning dew using your shirt, bandana or other clean cloth and wring it out in your water bottle. Another way to gather water is from a tree using your water bottle, Knife and some cordage. As seen here. Using your creative skills, you will be able to improvise. Now you know it can be done. When it comes to boiling water for purification, you will be able to use your water bottle for this as well. One way is to cut the top off the bottle and line the inside with a good layer of small pine bough or green grass and do a stone boil. Collect about two dozen egg sized or slightly smaller stones to rock boil 2 to 4 quarts of water. Heat them in your fire for 30-45 minutes. Use sticks or split wood tongs to pick up the rocks and drop them into your water. Use one or two at a time, and rotate “cool” ones out and hot ones in. The pine boughs allow the hot rocks to boil the water without burning through the bottom of you bottle. It also adds a good flavor and some vitamin C. Another way is to gather your water and use your signal fire to boil your water. There are plenty of videos and articles out there. This will give you the basics. Make a Fish/Crawdad Trap – Remember when you cut the top off your water bottle for your megaphone or your cup? Now you can use it as a trap for small fish, insects or crawdads. You may choose to eat what you have caught or use it for bait later. Again, plenty of how-to’s out there. These instructions will give you a good idea of this method. Use as a Fishing Bobber – As you know, most all of our products have fishing line in the core of the paracord. At this point, having one of our items will pay off in this area. There are a couple of techniques to use when using your newly found water bottle treasure as a fishing bobber. One is by itself and the other is with a makeshift fishing pole and throwing it into the body of water using your pole to retrieve your catch. Take the lid off the bottle and fill the bottle about a quarter of the way with water to add weight. Take your fishing line and wrap it a few times around the threads and put the cap back on. Leave a couple of feet of leader for your hook and bait. You can use the remaining line to attach to your pole for retrieval. When you get a bite, your bottle will bounce. When you have a catch, the bottle will flip upside down. Here is one way and here is another. Waterproof Storage – If there are things that you have that you do not want to get wet, (matches, medications, lighter, etc.) you can store them safely inside the bottle in case of a rain storm or having to cross a river. Use as a Fishing Reel – Much like the soda can hacks that we have written about, you are also able to make a fishing reel in much the same way. Here is a 30 second video we found that shows a fishing reel in the making. Along with the fishing line from one of our products and a good fishing moon phase, you’ll be eating good. Make A Water Filter – There are many ways to make a water filter from your water bottle. (Be advised that you should boil the water to kill any harmful living organisms.) To make the filter you need to remove the bottom of the bottle. Then layer the bottle with a piece of cloth, crushed charcoal, sand, grass, small stones and then larger stones and if you want, another piece of cloth. Here is a good video to show a good technique. Make Cordage – You should know by now that having some cordage will make things a bit easier if you are lost or injured and need help. If you have forgot to bring or buy one of our paracord items, you can make your own cordage using your newly found water bottle. Here is one way for a survival situation and here is a more advanced way using shop tools to give you a basic idea of the process. Somebody’s careless trash is another persons survival opportunity. Be Safe, Be Prepared and Be Rescued Stay Safe my Friends. Today I want to talk a little about Survival and Emergency Uses for the infamous and always used in any situation no matter what it is along with bailing wire, Duct Tape.
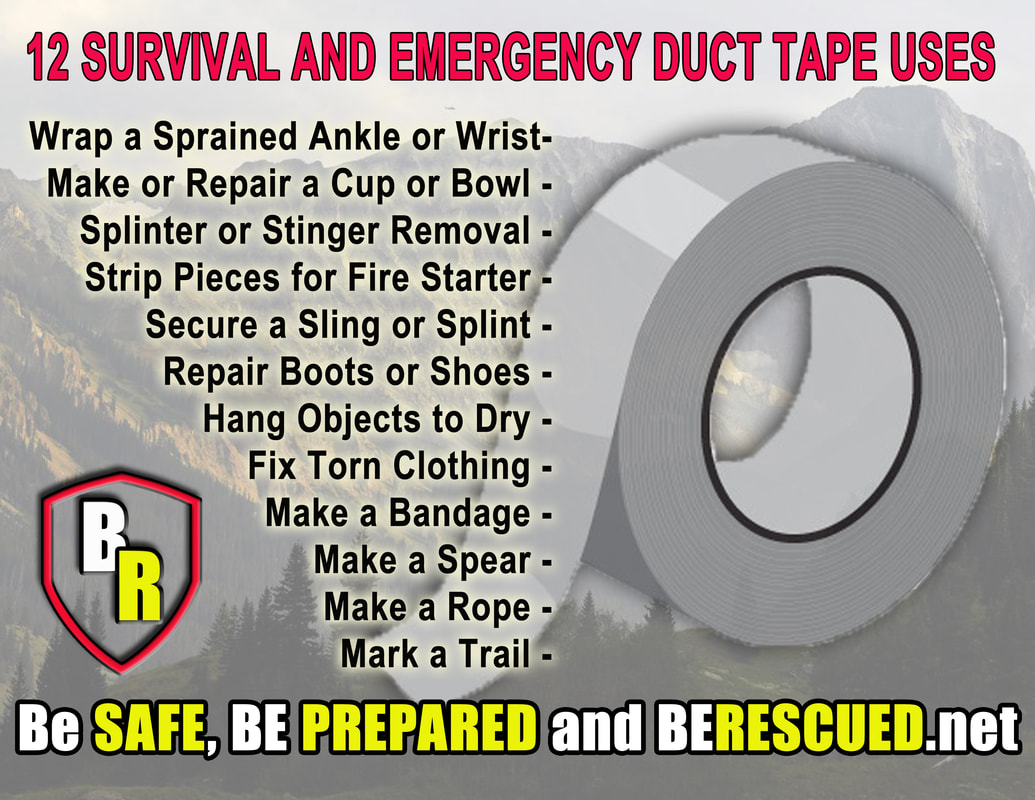
This handy item has been around since WWII and has way too many uses to list here. So today we are only going to talk about 12. If you are lost or injured way out in the wild far away from civilization and you happen to come across some duct tape, you're in luck. But, if you don't want to press your luck, you may want to think about taking some with you. You can fold a good length onto itself and keep it in your wallet or in your backpack. You may also chose to wrap a good length around a disposable lighter. (Preferably one that works) Among the many uses, you can use this magical material in a Survival or Emergency situation to: Wrap a Sprained Ankle or Wrist- Slips, trips and falls are common when traversing through rough or wet terrain or when eating unknown mushrooms and can sometimes lead to an injury such as a sprain. To help you get you back to civilization a little more comfortably without furthering the injury, you may want to wrap the injury (sprain) to immobilize it. I always recommend people take a First aid class to ensure the proper techniques in tending to injuries. Make or Repair a Cup or Bowl - A cup or bowl in a survival situation can come in handy and they have many uses for gathering food, water or collecting essential items such as more mushrooms. To make a cup, find a tree branch in the diameter you want your cup to be. Start wrapping the branch STICKY SIDE OUT with the tape overlapping about half way with each pass until you achieve the height you want and then stop and tear the tape. You can now start wrapping the outside, (sticky side to sticky side). Now you have a leak-proof cup. Splinter or Stinger Removal - Then there are those times when mother nature gives you a little jab to get your attention. If/when this happens you'll be glad you have a sticky substance to help grab onto those little bugger jabs and pull them out for a nice relief of pain. Strip Pieces for Fire Starter - If you are having trouble getting your fire going because of rain or humidity, duct tape is there for you. Tear off a small piece then start to separate the "strings" running the length of your piece until you have a nice gooey birds nest. This will help get a flame that will burn a bit longer in order to dry out your official birds nest and other tinder. Secure a Sling or Splint - If you have once again injured yourself because the sprains in your wrist and/or ankle wasn't enough, get out the duct tape again. This time you're gong to immobilize your injury using other techniques. Use your tape along with a shirt, sock, bandana or even your underwear to fashion yourself a sling to now immobilize the entire arm that has the injured wrist. And while you're at it. you may as well immobilized your leg at the knee. You know, the one with the sprained ankle? Grab a stick or two and put one on each side of the knee and wrap it a couple of times with your tape. Unless it's your finger, then just use the next finger over as a splint. Repair Boots or Shoes - So maybe the reason you have tripped and received your fair share of injuries is because your boots have a hole in them and now they have filled with water making it so you can't walk very good. Now would be a good time to fix them. (Actually it was earlier) Grab your trusty duct tape and put a piece (bigger than the hole) on the outside and then on the inside. make sure to dry the surfaces well in order for the adhesive to stick. Hang Objects to Dry - Now that you have your fire going, it's time to dry your stuff out. Get your tape out again if you put it away and fashion yourself a clothesline (see making a rope) and tear pieces off to use as clothespins. Using a small section, tape a bit of the inside of the object, then around the clothesline and back to itself and to the outside of the object. Fix Torn Clothing - During your fall you probably tore some of your clothing. Now that you are used to fixing things, this will be a walk in the park without tripping or falling. Don't forget to put a piece on both on the inside and the outside. Make a Bandage - It's way past time to tend to the cuts you acquired when you took your spill. You really should have done that when you were tending to your sprains. It's just not your day is it? You can take a clean piece of your clothing (not your underwear) to blot the blood and keep in place with your great gray adhesive tape. You can even fashion yourself a custom butterfly bandage for your scraped up knuckles. Make a Spear - Now that all your injuries are taken care of, it's time to get out there and hunt. Make yourself a spear using a good long straight stick and a hard tip. A sharp pointed stone or knife will work well. Grind, split or notch a place for your tip and secure it with your sticky wonder adhesive. Make a Rope - To make a rope, say for a clothesline or something else useful, take a long strip and twist it as tight as you can by leaving the roll attached and spinning the roll until bonding all the adhesive. You now have a rope to help with a bow drill and also help you with making your sling from your earlier injury. Mark a Trail - Hopefully you thought ahead and used some of your tape to mark the trail as you went along. If you didn't, hopefully you will remember to do this next time. But, at least you have your tape to use as a piece of paper to write a "HELP ME" message on using the charcoal from your fire. Stay safe my friends! This is our newest addition to the Every Day Carry (EDC) category.
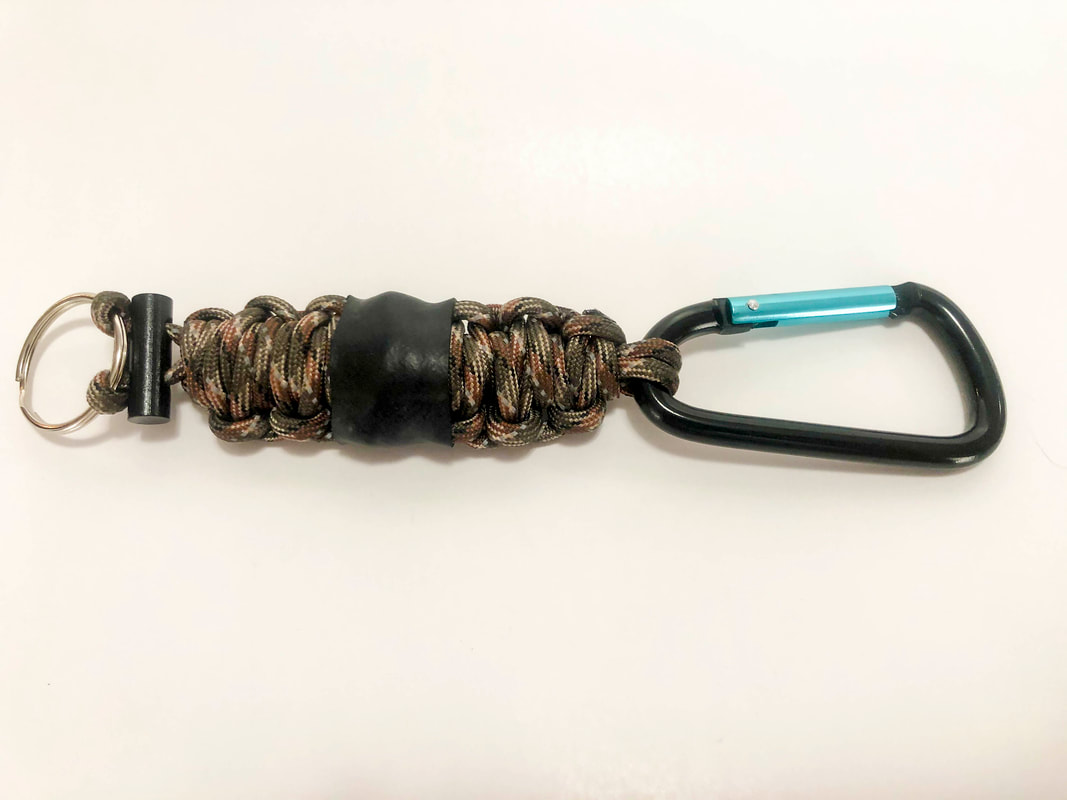
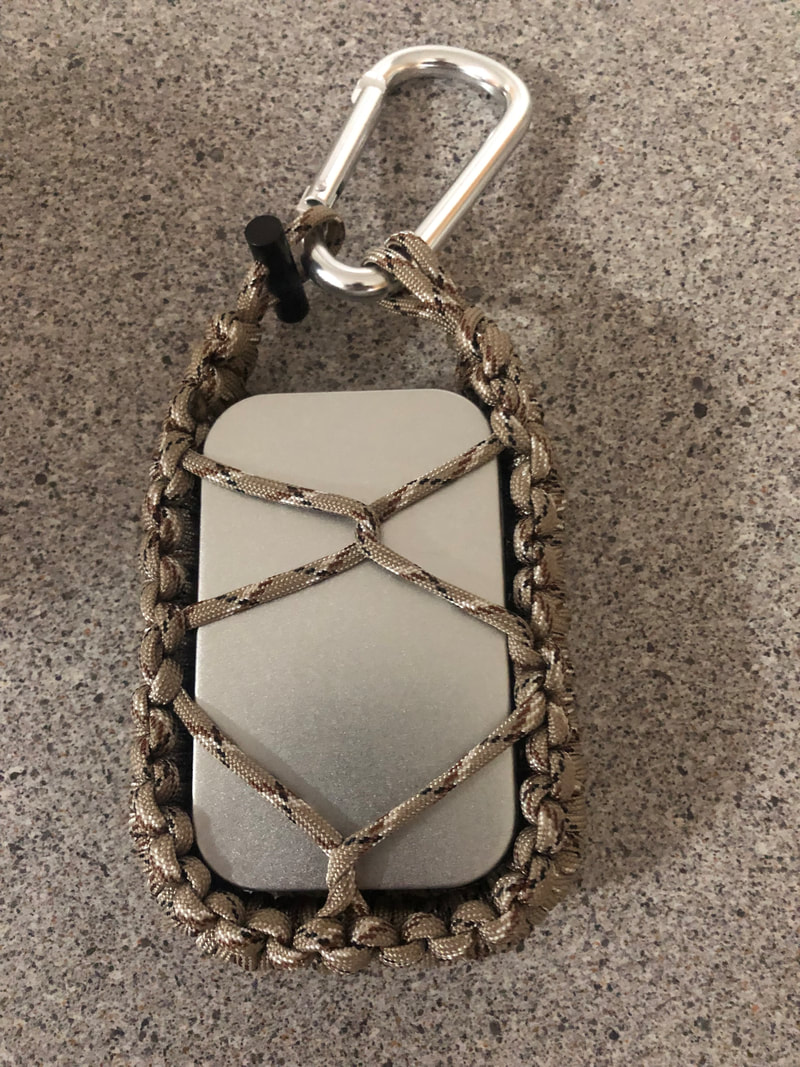
Don't let the size of this little fella fool you it just might get you out of tight situation. Overall Length is 8 inches Paracord weave is 4 inches
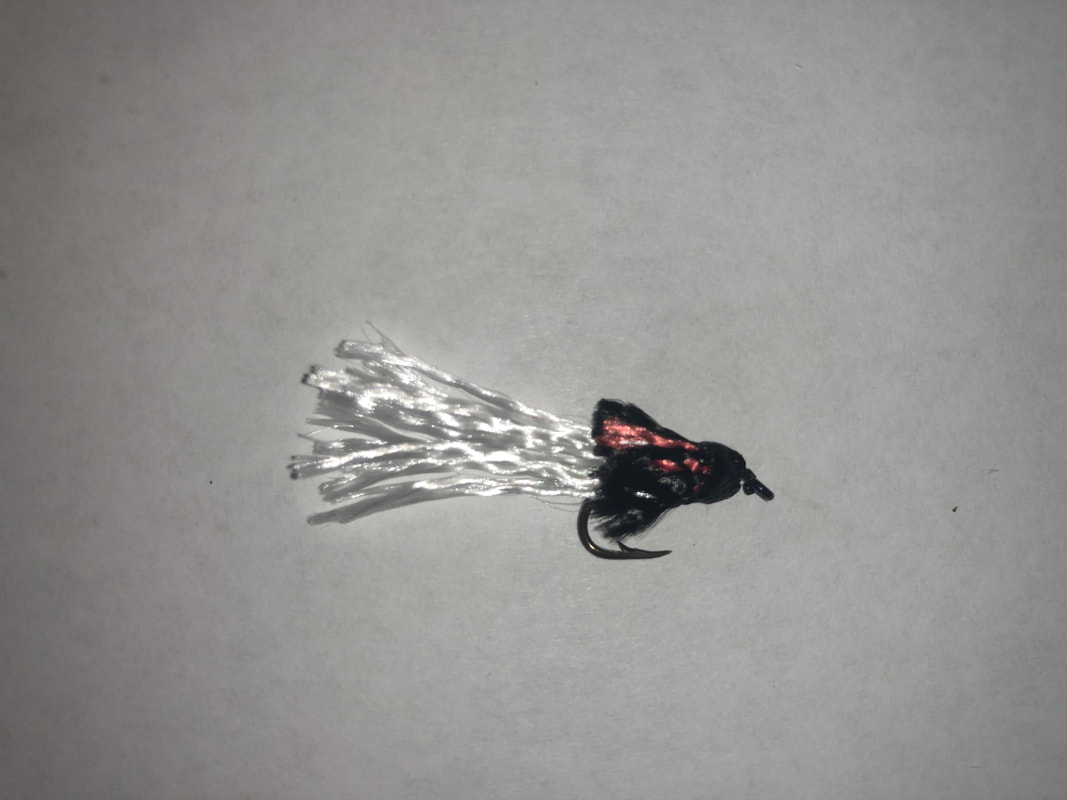
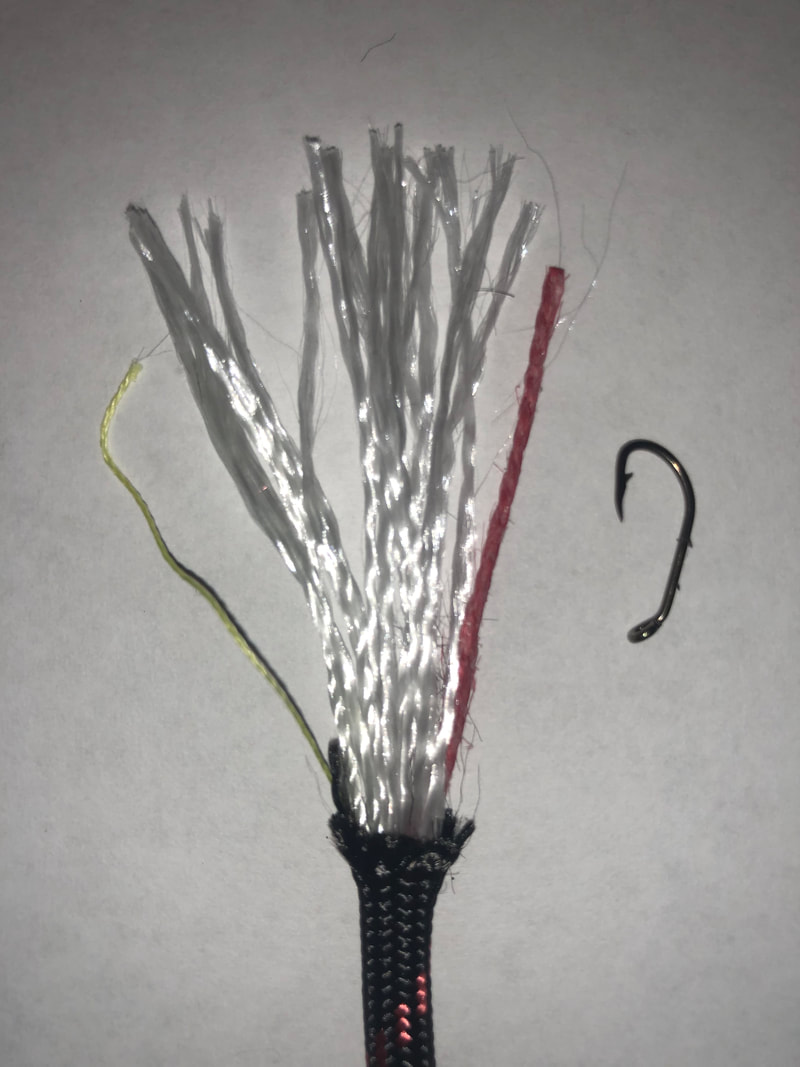
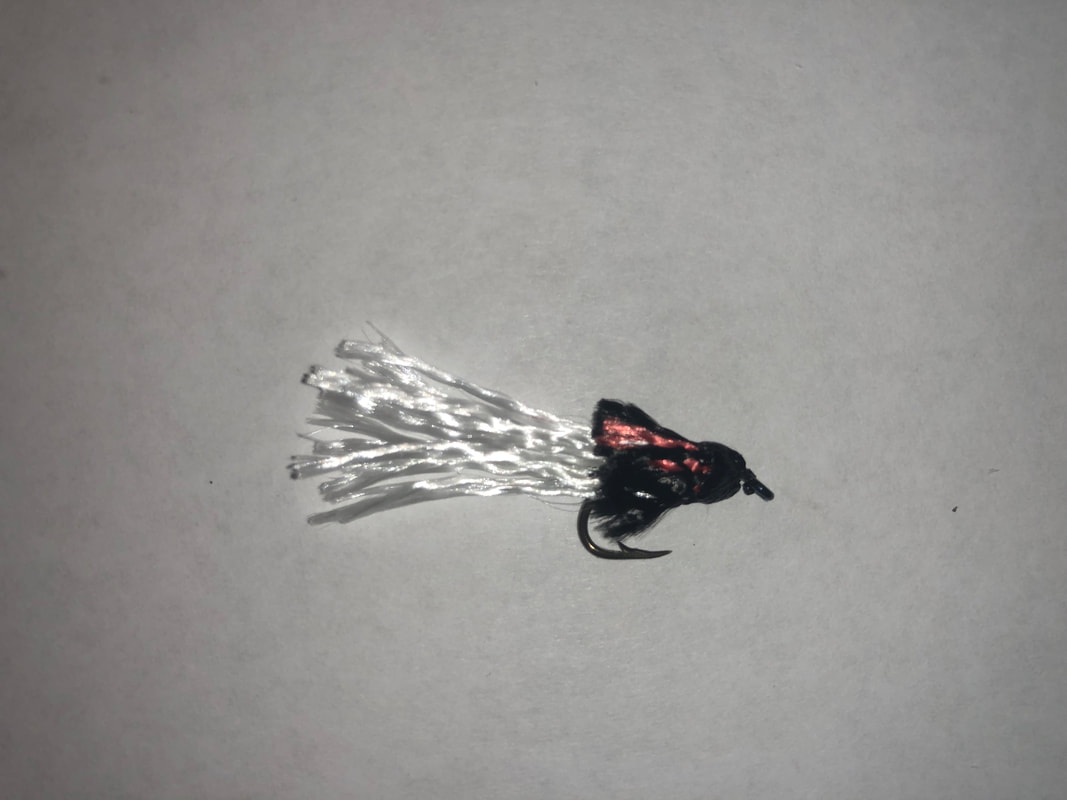
Be Safe and Be Prepared My Friends. 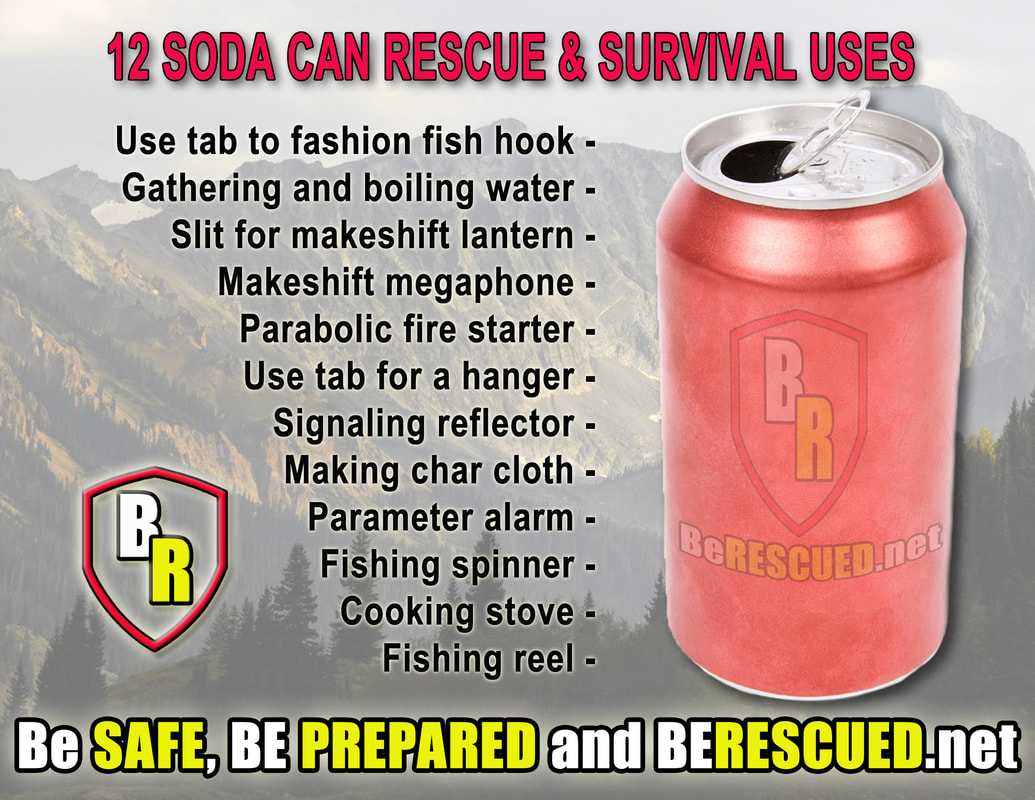 1. Fish hook - If you pull the tab off and cut a small "pie" section from the center. If it's cut at an angle, this will create a sharp hook for fishing. (Use the Kevlar thread or fishing line core from your rescue item). 2. The obvious use is as a container for gathering and boiling water for safe drinking. Staying hydrated is a major factor in an emergency situation. You can use a small stick to poke in the hole in the can or tab to help you put it in or out of your fire. 3. Lantern - The inside of the can is very reflective and can be used to your advantage. One way is to make a reflective lantern. To do this, make a vertical cut from the top to the bottom on the "flat" side of the can, then make two more horizontal cuts along the top and bottom of the can where the "flat" part starts and cut almost half way around the circumference of the can. You now have 3 slits, 2 horizontal (1 top and 1 bottom) and one vertical connecting the center of those slits. Fold both of your newly created flaps toward the outside of the can reveling the reflective inside of the can. You can now put a candle, pitch, chapstick, crayon or any other long burning material in the can to make it brighter and directional. 4. Megaphone - If you cut along the bottom and inside lip of the can, you will now have a cylinder that you can use to magnify your voice if you are yelling for help or trying to communicate at a long distance. (Make sure you cut on the inside of the top so you won't cut your lip when using) 5. Parabolic Mirror - You can polish the outside bottom of the can and use it as a parabolic mirror to start your tinder bundle. Chocolate or toothpaste seem to work the best to polish to a mirror-like finish, but use whatever means you can to polish and not scratch. If you can see a reflection of yourself then you have a polished mirror and you are read to harness the power of the sun. Hold the can close to your body to keep it steady and point in in the direction of the sun. You can hold your finger or a small stick a few inches away to try to focus the magnified sunbeam as small as you can. Try not to block or shade the mirror from the sun (If you are using your finger, you will feel the heat.) Take your small dry stick, dry grass, charcloth, paper or with something that will catch the heat and focus the beam on to your material. When you see smoke, keep going. You will soon have flame to put into your tinder bundle. 6. Hanger - Like the fishhook method, you can fashion yourself a hanger to use to keep gear or food off the ground or to hang clothes out to dry. Use the paracord from one of your rescue items to assist. 7. Signaling - As mentioned before, the inside of the can is very reflective. This again can be used to your advantage to signal for help or communicate much like a signal mirror. With one hand, hold your fingers in a V (like a fifle site) and aim at your target. With the other hand, use a large piece cut from the can shiny side out to reflect the sun on to your V shaped fingers. When you can see the reflection on your fingers, you are able to direct your signal to your target. 8. Char-cloth - Instead of using an Altoids tin, you can also use the soda can to make your char-cloth. The down side is you have to have a fire going in order to make it. But, char-cloth is a great thing to have on your person to make fire starting much easier for the next time. It only needs a small amount of heat of a small spark it ignite into an ember. . You will need some cloth to burn. A bandana, underwear, spare sock or shirt, whatever you can spare. Cut the can in half horizontally the push the folded drinking tab back into place to seal the drinking hole. Put your small cloth pieces in the bottom half and put small crimps in the bottom have so the top half will fit over the bottom and seal. Put the can into the hot fire and let it burn for a few minutes. You will know it is ready when the can has stopped smoking. Take a small stick and retrieve your can from the fire by poking it thru the tab. Let the can cool. You now have char-cloth and a container to carry it in. You may eve be able to polish the bottom again to use as a parabolic mirror to start another fire. (See number 5) 9. Alarm - There are times when you can't see what or who is out there in the dark and you will need a warning device. You can use the inner core of your paracord or a piece of fishing line to fashion a trip alarm system using a can or cans around the perimeter of your camp to warn you of intruders. 10. Fishing Spinner or Lure - Using a small piece cut from your can, you are able to make yourself a spinning lure for fishing. Most fish are attracted to shiny moving objects and will attack it. You can use a cutout of a small propeller-like object to attach on to your fish hook towards the eye by punching a hole in the center and gently twist the blades to make it spin. 11. Stove - using the method in number 8, you will also be able to use your prized can as a stove or an oven for small edibles. There is also a way to make an alcohol stove that works very well. (here) But, if you are lost and need to survive until you get rescued, you probably don't have any flammable liquid on your person. You are a creative person and you will surly find what works best for you. 12. Fishing Reel - If you have fishing line (inner core of your BeRescued paracord) and a hook (see item 1) then you will also need a fishing reel. Tie one end to the tab on the top of the can and start to wind your line around the can leaving a place for your hand. You will be able to use this as a reel and also store your line. Another way is to cut a hole in the bottom of the can and put a small stick thru the top drinking hole and the hole you just created. Now you have a free-spinning reel. Just watch out for tangles. Stay safe my friends. Be Safe, Be Prepared and BeRescued Get your EZ deploy tins here! With emergency blanket, 25 feet of survival paracod and an 11 in 1 multi-tool. If you are lost for a longer period of time than expected, you will most definitely start to get hungry. Hopefully, you have taken steps in signaling for rescue by means of your bracelet contents by building a signal fire, using markers and sounds etc. Among the many uses of your rescue bracelet is the ability to procure food by way of your paracord and the contents inside. There are many ways to use the paracord alone to help you, but today I want to talk about fishing specifically. The inner strands that make up the paracord of your bracelet are waxed jute (red), 150 lb. Kevlar thread (yellow), cotton thread and 7 strands of nylon (white). To make a lure or fly, pull the inner strands out a bit and cut a small section of the paracord. Slip the head of the hook inside and note where to cut. Gently pull the waxed jute and Kevlar thread out leaving the rest. With a stick from the signal fire, carefully melt the paracord near the eye of the hook (or safety pin) to help keep the cord in place and the inner strands from falling out. (You can also use a strand of the cotton or nylon thread to secure just behind the head.) Now all you have to do is tie your Kevlar thread to the hook (or pin) and go fishing.
On another note, you can also make a fishing net with some of the remaining inner nylon strands from your paracord. We’ll cover that in another article. Be Safe, Be Prepared and Be Rescued. A 41 year old woman got lost in Little Cottonwood Canyon and had to spend the night in a storm. Although she had an emergency blanket, She could have been much more comfortable with a fire and shelter using the material and tools from one of our products.
We are all glad she was found safe and unharmed. Articles can be found at: KUTV, Deseret news, KSL, and Fox 13. Be Safe, Be Prepared and Be Rescued. This has turned into quite a mystery.
Here are a few highlights of a recent story from WSLS-10 Virgina. BUENA VISTA, Va. - Thirty-year-old Chad Austin, of Buena Vista, has been missing since Memorial Day weekend, when he was last seen near Route 60 in the Panther Falls area. His car, a 2006 Hyundai Tiburon, was found in the area a few days after he was last seen with his dog, Gunner, locked inside. Officers from eight agencies, including Virginia State Police and the Virginia Department of Emergency Management, combed the area on the Rockbridge/Amherst county line from sunup to sundown Saturday to find any trace they could of Chad Austin. “This is extremely unusual for Chad to have gone this long without communicating with his family or close friends,” said Buena Vista Police Chief Richard Hartman. “It’s also very out-of-character for Chad to have left Gunner behind and put at risk by being left inside a locked vehicle. Chad’s family says the two have been inseparable since Chad got him as a puppy and would never willingly let any harm come of him or to any animal, for that matter.” Participating in search operations since last week have been the Amherst County Sheriff's Office, Virginia State Police, Virginia Department of Emergency Management, Virginia Department of Game and Inland Fisheries, U.S. Forest Service, Black Diamond Search and Rescue, Piedmont Search and Rescue, Blue Ridge Mountain Rescue, Search and Rescue Tracking Institute, Dogs East Search and Rescue, Shenandoah Mountain Rescue, Cambridgeshire Search and Rescue and MId-Atlantic Dogs. Also participating with support operations during Saturday's search were the American Red Cross, Rockbridge-Area Community Emergency Response Team, VMI Emergency Management and Virginia Communications Cache - Montgomery. Read the article with links to previous articles and updates here. Be safe, be prepared and be rescued. Grand County officials, volunteers save woman with shattered femur in Arches National Park.6/17/2019 It just goes to show you that you never know when, where or how an accident can happen. Although they were not far from help out in the middle of "nowhere" it still happened.
The woman was hiking back to the parking lot on the path from the Double Arch trail in Arches National Park when she fell breaking her femur. You can read the article and watch a video here. An accident like this can happen to anyone at anytime in anyplace. If you are not as fortunate as this person to have help nearby, You should always be prepared with proper First-aid training. If you know at least the basics of first-aid, you will be able to use the tools in the Rescue Bracelet to render First-aid to immobilize the leg and signal for help. Be safe, be prepared and be rescued. According to a recent article put out by CNN Newsource on April 24th 2019, On average, 6 people die in national parks per week.
Read the article here. There are many reasons why people get into trouble, get lost or even die in the national parks. We've all seen people do stupid things because their mind is focused someplace other than the danger that is right in front of them. It's because of those people, the rest of us have to suffer stupid rules or closed access to really cool places. Yellowstone National Park even put out an article on their website titled: Bad Selfies: 6 Places Not to Pose in Yellowstone. You can get it here. With the start of another vacation season, try not to be one of "those people" that cant pay attention to the beauty and the danger around them. Be safe, be prepared and be rescued. Any or all of our products would have been a great help in this recent story
Missing Maui hiker Amanda Eller found alive after more than 2 weeks Another article and video here. She could have built a signal fire and kept it going to attract attention. She also could have used the marking ribbon and the signal mirror all contained in the SOS Rescue Bracelets. Be safe, Be prepared and be rescued. The Flint and Steel Survival channel on YouTube did a review of the Extended Stay Rescue band. Here is his video. I came across this video about a variety of people that each got themselves lost under different circumstances. After days and sometimes weeks of searching, they were finally rescued. If each of these people would have had a rescue bracelet or tin, they not only could have been more comfortable with fire and a means of making a shelter or procuring food and clean water, they would have been rescued much faster. We all know that people don't set out to get lost by choice, so it makes sense to carry a small item with you (such as a rescue bracelet or tin) that focuses on signaling for help. Watch the video below and click here for more information. Be safe, be prepared and be rescued. Our Minimalist Tin is made with 26 feet of paracord and comes with an 11 in 1 multi-tool and an emergency blanket. (get yours here)
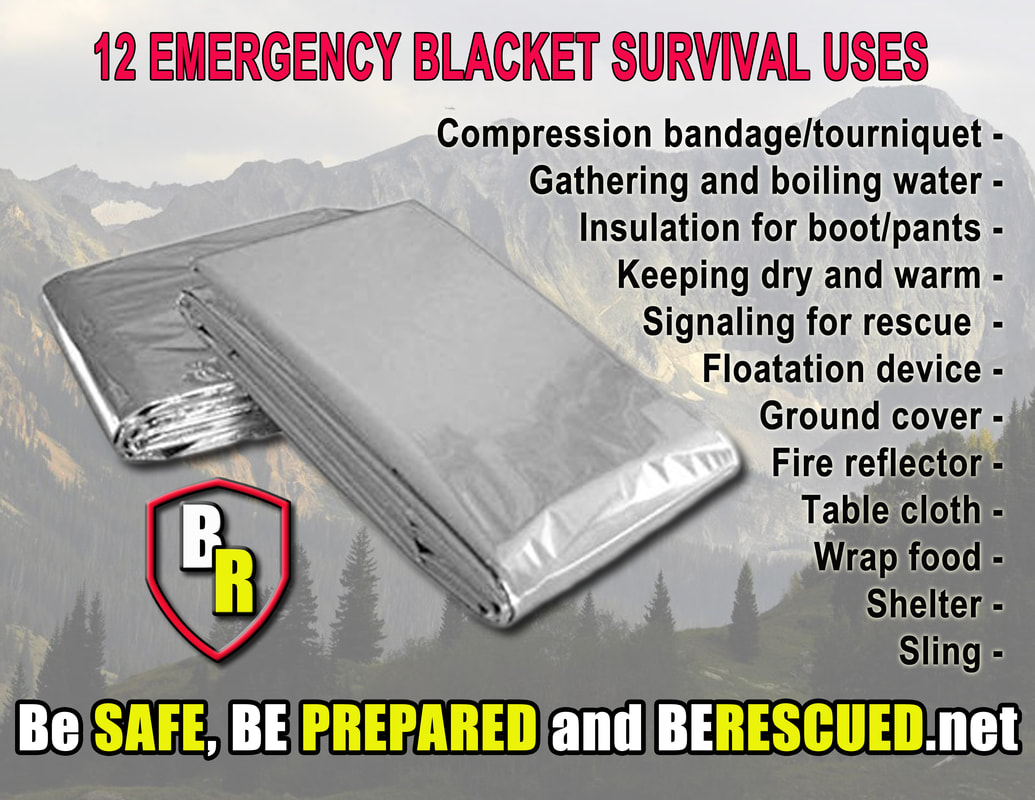
Today we will cover the multiple uses of the Emergency Blanket. The small package contains a big blanket that is light but strong and can be used in plenty of ways in an emergency situation. Here are a few reasons to buy and carry this emergency space-age technology: The obvious – wrapping in it for warmth. Stringing up as a signal device – not too tight – so it creates movement in the wind and increases your chance of being seen. Place it on the ground as a signal device and fold in different patterns to communicate a message. Melt snow by placing small amounts on space blanket in the sun and funnel into a container. Small rain shelter: looping a paracord slip knot over a pebble inside the corners of the blanket to tie off. Use as material to write a note or directions using charcoal from your fire. Twist for extra rope material. Twist and loop it through pants, and tie to make a belt. Tie off ends to create air space for an improvised flotation device. Cut off small pieces as part of lure to catch fish (they like shiny materials). Create a sling. Use as a tourniquet. Use as a compression bandage. Use as a strip to tie splints for broken or sprained bones. Use as cushion material for improvised splints. Improvise a scarf. Wrap around head to create a hood. Use as a water carrying device. Use as a fire reflector to maximize heat toward your direction. Use to reflect sun onto tinder to build a fire. Use to reflect the sun to heat water. Use to reflect the sun for a make-shift signal mirror. Build a mini hammock. Stuff with leaves to create insulation for use as a pillow or sleeping bag or ground cover. Line feet inside boots to keep socks dry. Build an outdoor refrigerator by wrapping food inside as a ball, tying off, then placing in a creek. (Weigh down the end of bag with rock to prevent from floating away.) Cut into strips and tie to trees for marking a trail. Cut into 3-inch squares wrap stones to create a weight that’s easy to tie off for fishing. Use to reset a broken arm (when solo) by tying one end to a tree then placing your wrist in other end with slip knot and using body weight to reset the bone. Spread it over a large rock or ground as a makeshift tablecloth. Use to make a food/bear cache by wrapping food in the blanket, tying with rope, tossing rope over a high branch, hoisting up, then tying off the other end. Create a funnel by tying 4 sides and placing a container under to collect rain water. Place a rock at bottom to keep a steady stream Please comment with any ideas you may have! Thanks Be safe out there. After seeing somebody tie a really cool knot, I just had to learn it. All I had was the name of the knot so I jotted it down and looked it up later.
One of the websites that came up was Animated knots so I clicked on it. What a great website! It has more knots than you will ever need! You can look up knots by name, use, type or even by category. Climbing, Fishing, Boating, Scouting, Household, Arborist, Farming and Search and Rescue. The knots you want to learn have great directions with the origin and uses for each knot. It also has a short animated video on how to tie each knot. The best part is: For a couple of bucks you can purchase the app for both android or iphones to use when you have no internet service. Give the website a look and get knotty. The tried and true list of Ten Essentials was developed by the Seattle-based Mountaineers club, and has been updated since it first originated in the 1930s. It was created to answer two basic questions:
First, can you respond positively to an accident or emergency? Second, can you safely spend a night-or more-out? If you would like the PDF, please click here. Check out out products page for simple gear to help you be safe and be rescued. Now you are able to carry what you will need to start a fire in any situation. This adjustable 550 survivor cord necklace has a ferro rod and scraper on the outside. Along with the 48 inches of nylon paracord thread, it also has waxed jute, cotton thread, copper wire and fishing line inside the cord. Now on sale! The Utah ATV association is a great organization!
I recently had the great opportunity to attend a Utah ATV club meeting this March and I was very impressed with the friendliness of the members and the organization itself and what they stand for. Established in 1985, this non-profit organization is a part if the Blue Ribbon Coalition. The members are supporters of the Tread Lightly moto. They are known for the preservation of the trail riders access to National Forest, State Parks, and BLM Lands, and also protecting the resources of these lands. The Association also plans recreational opportunities for the members and their families, while promoting safe trail riding as a legitimate and respectable activity. The Association is working with the National Parks Service, the BLM and State Parks, to develop designated trail systems for ATV's and Off Road Motorcycles in all these areas. They also combine volunteer and constructive activities with their riding events. Some of these include the Taylors Fork-Cedar Hollow trail yearly clean-up project and the annual Utah ATV Ride For Life, to benefit the Make a Wish Foundation of Utah. They are respected in local communities for their involvement in charity rides, safety training, and participation in the political policies of safe outdoor riding. Thumbs up to the Utah ATV Association for the programs, training, volunteering and charity work they do. They couldn't do it without the great members of this organization who get involved. After the demands for an easy accessible and refillable compartment, and many designs, The Minimalist has now been created with the easy and tangle free deployment of one piece of paracord of over 26 feet! It comes with a ferro rod, an emergency blanket and an 11 in 1 Multi-tool to get you started. You can now carry and replace anything you think you may need to get you out of a pinch. band-aids, alcohol wipes, gauze, fire tinder, fishing tackle, whatever you think you may need for your next outing.
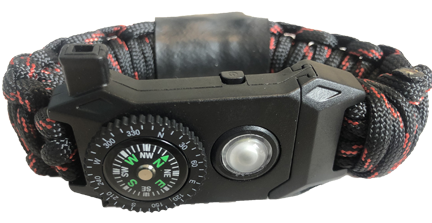
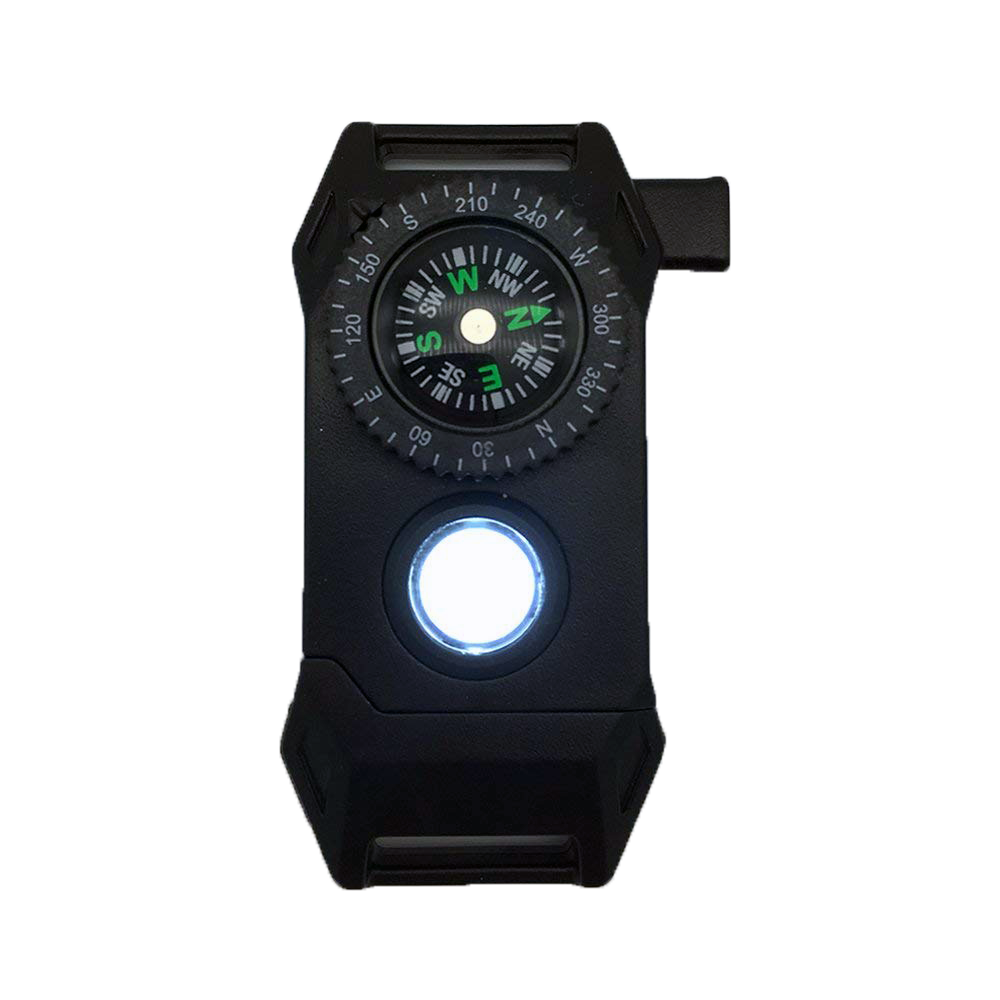
Compass A compass cannot tell you where you are or what you are looking at without a map to triangulate your position, but it CAN indicate direction of travel in dense fog or when you have to travel in the dark. Remember to keep the compass LEVEL. As tilting it keeps the needle from swinging freely. If you have a cell phone and a signal to call for help, you can use the compass to direct a team to your rescue using landmarks, for example: “I am Southwest of the hill with an antenna on it and on the North side of the river”. From there they may be able to find you or tell you a direction of travel to find yourself. When traveling, Hold the compass directly in front of you, not at an angle. Rotate your body and the compass together when you are finding a direction of travel. Pick a far landmark and another closer one and line them up to follow (mountain peak, group of trees, etc.). Always look behind you and take note of the landmarks as well. This is what you will be seeing when traveling back. It is advisable to take a course in using a compass and reading map. There are also some great resources on the internet and on YouTube. Whistle: The buckle whistle is a fine piece of signal gear for audible signaling and can even be used hands free if needed. Three blasts with a short pause before repeating of a whistle are generally interpreted as a universal signal for distress. Nearly anywhere in the world, if someone were to hear your three blasts, they would recognize it as a call for “help” and you dramatically increase your chances of being located and making it out alive. You may also elect to use the audible version of S.O.S. by using the three short blasts – three long – and again three short, (repeat). Whistles are the perfect signal device to give to your kids on outings since they’re easy to operate and most kids like making noise anyway. Instruct them to blow the whistle in blasts of three and to stay in one spot until help arrives, should they get separated from you in the outdoors. The SOS Rescue Bracelet channel has first aid and survival tips and tricks on the deployment and use of the buckles and contents in your bracelet.
Subscribe and get notified when a new video is uploaded! |

